原 Redis快速入门
2397 | 0 | 0
Redis快速入门,分两个客户端:Jedis和SpringDataRedis
使用Jdedis
<!--jedis-->
<dependency>
    <groupId>redis.clients</groupId>
    <artifactId>jedis</artifactId>
    <version>3.7.0</version>
</dependency>
<!--单元测试-->
<dependency>
    <groupId>org.junit.jupiter</groupId>
    <artifactId>junit-jupiter</artifactId>
    <version>5.7.0</version>
    <scope>test</scope>
</dependency>
2、创建测试类:
import org.junit.jupiter.api.AfterEach;
import org.junit.jupiter.api.BeforeEach;
import org.junit.jupiter.api.Test;
import redis.clients.jedis.Jedis;

import java.util.HashMap;
import java.util.Map;

/**
 * @author 凯哥Java
*/
public class JedisTest {

    private Jedis jedis;

    @BeforeEach
    public void initJedis(){
        jedis = new Jedis("192.168.50.135",6379);
    }

    @Test
    public void testString(){
        String result = jedis.set("name","kaige");
        System.out.println("set Result"+result);
        String nameValue = jedis.get("name");
        System.out.println("v:"+nameValue);
    }


    @Test
    public void hashTest(){
        Map<String,String> value = new HashMap<>();
        value.put("id","1");
        value.put("name","hset1");
        value.put("age","23");
        Long result = jedis.hset("persion_1",value);
        System.out.println("set Result"+result);
        String age = jedis.hget("persion_1","age");
        System.out.println("age:"+age);
    }
    @AfterEach
    void tearDown() {
        if (jedis != null) {
            jedis.close();
        }
    }

}
说明:
如果生产环境就这么使用,会出问题的。jedis是线程不安全的,而且创建、销毁也是很消耗的。所以使用连接池方式:
import redis.clients.jedis.Jedis;
import redis.clients.jedis.JedisPool;
import redis.clients.jedis.JedisPoolConfig;

/**
 * @author 凯哥Java
 * @description jedis连接池
*/
public class JedisFactory {

    private static final JedisPool jedisPool;

    static {
        JedisPoolConfig poolConfig = new JedisPoolConfig();
        //最大连接数
        poolConfig.setMaxTotal(8);
        //最大空闲连接
        poolConfig.setMaxIdle(8);
        //等待市场
        poolConfig.setMaxWaitMillis(1000);
        //最小空闲连接
        poolConfig.setMinIdle(0);
        jedisPool = new JedisPool(poolConfig,"192.168.50.135",6379);
    }

    public static Jedis getJedis(){
        return jedisPool.getResource();
    }

}
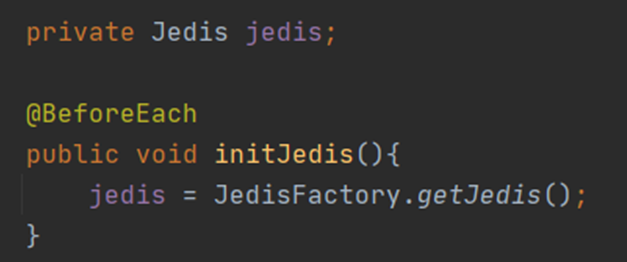
使用:
二:springDataRedis
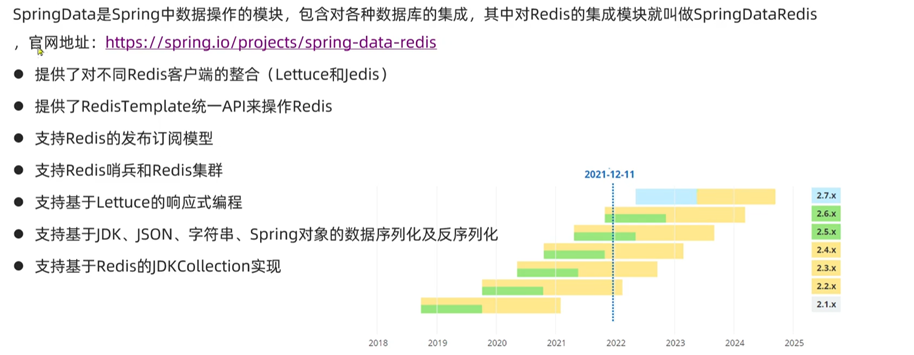
springDataRedis中提供了RedisTemplate工具类,其中封装了各种对Redis的操作。并且将不同数据类型的操作API封装到了不同类型中:

spring 默认使用的是lettuce客户端的。如果要使用jedis的话,需要自己引入相关依赖。
本文由凯哥 Java (公众号:kaigejava),个人博客:www.kaigejava.com 发布于凯哥个人博客
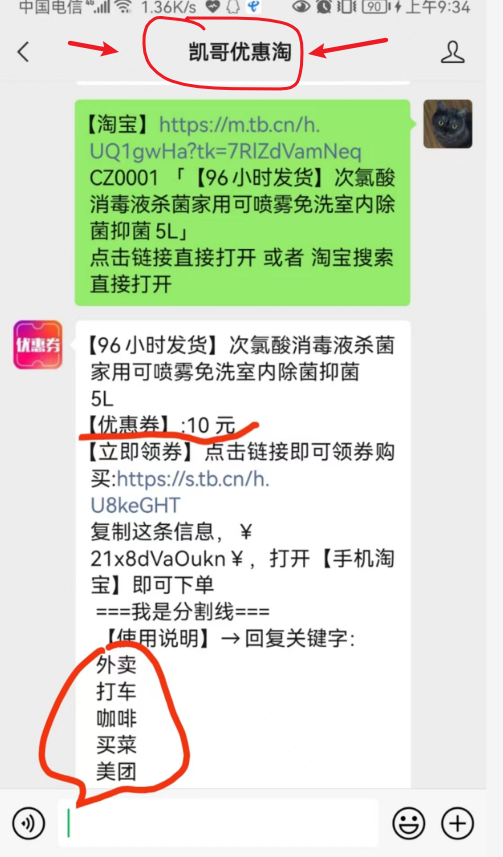
凯哥自己开发的,领取外卖、打车、咖啡、买菜、各大电商的优惠券的公¥众¥号。如下图:
使用springdataRedis步骤:
1:引入依赖
<!--Redis依赖-->
<dependency>
<groupId>org.springframework.boot</groupId>
<artifactId>spring-boot-starter->2:配置Redisapplication.yaml文件:
spring:
redis:
host: 192.168.50.135
port: 6379
lettuce:
pool:
max-active: 8
max-idle: 8
min-idle: 0
max-wait: 100ms3:写测试类:
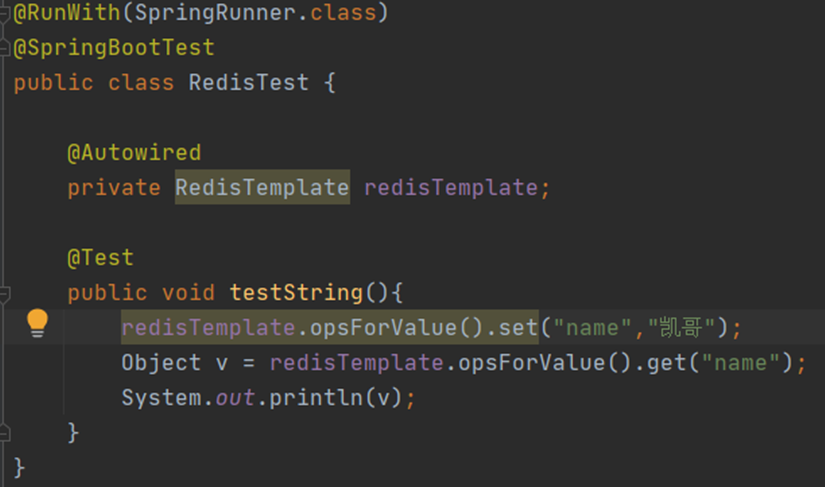
需要注意:在测试类上,一定要写入@RunWith(SpringRunner.class)这个注解。如果不写,会报redisTemplate空指针异常。
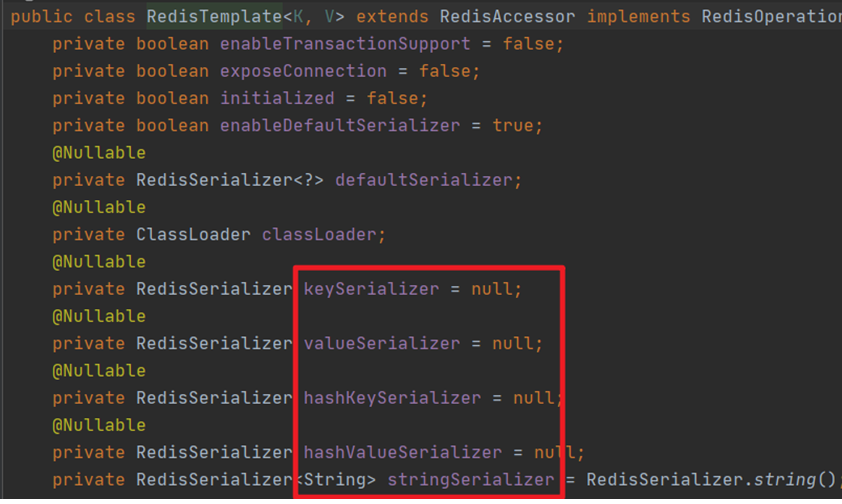
为什么存入进去的数据,是乱码的呢?而且,有一个name,是我们自己set的,乱码的这个是我们通过RedisTemplate插入的,我们来看看RedisTemplate源码
我们跟set源码,会发现,set是使用了value的序列化:
跟着源码,我们知道,默认使用的是jdk自带的序列化工具。
为了解决两个name(一个是正常的name,一个是乱码的name)问题,乱码的缺点:
我们可以自定义RedisTemplate的序列化方式,代码如下:
import org.springframework.context.annotation.Bean;
import org.springframework.context.annotation.Configuration;
import org.springframework.data.redis.connection.RedisConnectionFactory;
import org.springframework.data.redis.core.RedisTemplate;
import org.springframework.data.redis.serializer.GenericJackson2JsonRedisSerializer;
import org.springframework.data.redis.serializer.RedisSerializer;
/**
* @author 凯哥Java
*/
@Configuration
public class RedisConfig {
@Bean
public RedisTemplate<String, Object> redisTemplate(RedisConnectionFactory connectionFactory){
// 创建RedisTemplate对象
RedisTemplate<String, Object> template = new RedisTemplate<>();
// 设置连接工厂
template.setConnectionFactory(connectionFactory);
// 创建JSON序列化工具
GenericJackson2JsonRedisSerializer jsonRedisSerializer =
new GenericJackson2JsonRedisSerializer();
// 设置Key的序列化
template.setKeySerializer(RedisSerializer.string());
template.setHashKeySerializer(RedisSerializer.string());
// 设置Value的序列化
template.setValueSerializer(jsonRedisSerializer);
template.setHashValueSerializer(jsonRedisSerializer);
// 返回
return template;
}
}
配置好自定义的之后,再次执行,就可以了。通过自定义序列化之后,我们在Redis中存入一个user对象:
存入值,我们发现在Redis库中,对象中多了类全路径。
这样有个缺点:增加了额外的内存开销的。那么这个时候怎么办呢?
我们可以规定,在使用String类型的时候,存入对象的是,需要先将对象序列化,然后获取后,在将对象反序列即可。
结束语
如操作有问题欢迎去 我的 个人博客 (www.kaigejava.com)留言或者 微信公众号 (凯哥 Java)留言交流哦。
0

凯哥Java
3人已关注
-
 领课教育 33012
 -
10724
-
 update 48213
 -
5424
-
 领课教育 18755
 -
 husheng 21376
 -
 请更新代码 42122
 -
 凯哥Java 2700
 -
 凯哥Java 3150
 -
 凯哥Java 2398




 粤公网安备 44010602005928号